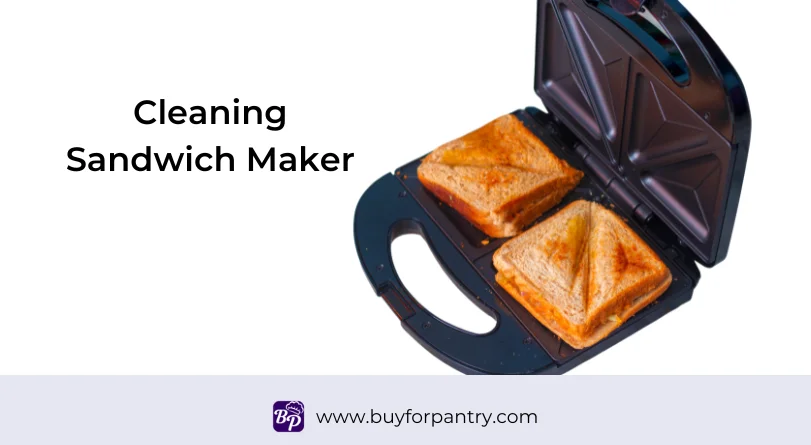
If you know how to clean a sandwich maker, it will solve many of the problems caused by melted cheese. It is no secret to anyone that sandwich makers are one of the appliances that get the dirtiest with each use. Sauces, cheeses, jams, butter, food scraps… are some of the foods and additives that tend to stick to these devices.
Cleaning a sandwich maker every time it is used can be annoying, especially when you don’t have the time to carry out this procedure. Many people use this appliance to prepare breakfast before going to work.
The problem arises when you have to leave and you can’t clean it. Leaving a dirty sandwich maker until you get back home can attract all kinds of unwanted bugs, rodents, and more, not to mention the growth of bacteria and mold. This is why it is so important to know tips and tricks for cleaning a sandwich maker.

Related: T-fal Optigrill review
How to clean sandwich maker: Steps and tips
Now yes, we are going to give you a series of steps that will come in handy when cleaning a sandwich maker:
Step 1: Turn everything off
The first step you should do to learn how to clean a sandwich maker is to turn off and unplug the device. Although it may seem like an obvious situation, there are hundreds of people who suffer burns and other accidents because they forget to turn off the appliance before starting to clean it.
Step 2: Damp cloth or paper
As we have said before, many sandwich makers are non-stick, so if the spill is recent, all you need to do is wipe it with a damp cloth to remove the remains of solid and melted food.
If your case is the opposite, and the stain has been around for a long time, then you should use absorbent kitchen paper on the plates, close them, and let the product do its work.
Shortly after doing this, you have to open the appliance and remove the paper by pressing it firmly on the plates and making an encircling movement to grab as much of the remains as possible.

Step 3: The spatula
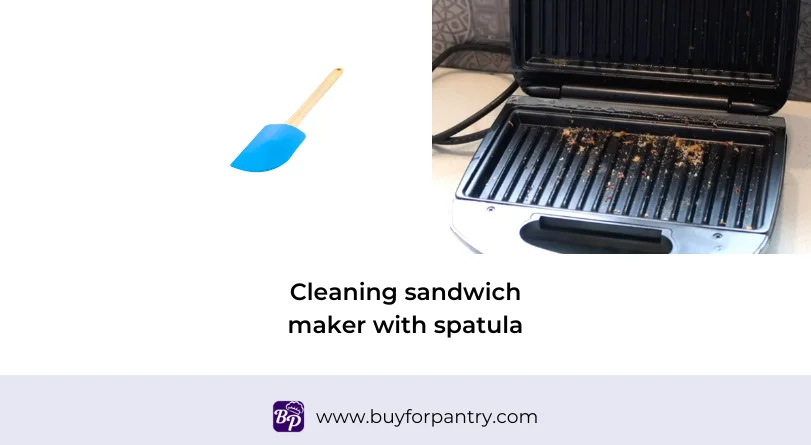
In step three use a spatula. This utensil should only be used if there are food residues, such as melted cheese, extremely stuck to the plates. You can use the one you have at home, but if it is made of plastic, much better.
With plastic spatulas, you will avoid scratching the material, which can make food stick more easily. Place the utensil at an angle of between 22 and 30 degrees, and pressing from the bottom up, gradually remove the food remains.
Step 4: Use soap to clean the sandwich maker
If your sandwich maker is not too dirty and stuck on, then you can skip step three; otherwise, you should continue with what we have been recommending. Now it’s time to pour a small amount of dish soap onto the plates.
With a sponge, you will proceed to scrub the liquid all over the surface of the plate. Remember to use the smoothest side, since the other could scratch the device. In addition to remains, you will eliminate accumulated fat.

Step 5: Damp cloth to finish off
Once you reach this point, you will have your sandwich maker practically clean; all that’s left is to wipe the plate with a damp cloth. This final touch will leave your appliance looking like new, especially if you also pass it on the outside. Do not close it immediately, you have to wait for the moisture to dry first.
Something that you should avoid at all costs is pouring water directly into the internal part of the device. Believe it or not, there are many who make this mistake and end up damaging their appliance or causing some kind of accident.
Related: Inexpensive waffle makers.
How to clean a sandwich maker using vegetable paper?
We start these tricks on how to clean a sandwich maker with one of the simplest and easiest to do. Vegetable or baking paper has many uses in the kitchen. Hundreds of people around the world use it to prevent pizzas, cookies, cakes, cupcakes, or muffins from sticking to the trays.
In the pastry shop and in the kitchen, greaseproof paper is versatile and multifunctional, adapting to the needs of users. Its properties protect food while preventing spills that are difficult to clean. It is this function that will serve to prevent cheese, sauces and other elements from dirtying the sandwich maker.
With greaseproof paper, you will not have to clean this appliance daily. It is extremely easy to use, since, all you have to do is place the paper between the bread and the plates of the appliance. This means that the sandwich will be almost wrapped in baking paper.
Remember that to completely avoid spills and grease leaks, the bottom and top of the sandwich must be covered in paper. With this trick, you don’t have to worry about how to clean a sandwich maker because you won’t have to clean it right away.
To leave the appliance completely clean, before going to work or carrying out your daily activities, you can wipe the plates with a damp cloth and, with this, you make sure that the sandwich maker is in perfect condition with each use.
Something we should mention is that the bread will not be completely crispy. This is because paper acts as a raincoat; however, it does not mean that it will be soft.
Most of these devices have a non-stick coating. This means that cleaning it only involves removing food remains and using a damp cloth.
However, if you leave the sandwich maker without cleaning in case of a spill, even if you can remove most of it, there will be food residue stuck to the plates.

Summary: How to clean a sandwich maker
Maintaining a clean and non-stick sandwich maker is crucial for ensuring delicious, perfectly toasted sandwiches every time.
By following the simple yet effective steps outlined in this guide, you can easily tackle any residue or build-up. Regular cleaning, using the right tools, and employing natural cleaning agents are key to preserving the longevity and performance of your sandwich maker.
With a little care and attention, you’ll continue to enjoy scrumptious sandwiches without the hassle of sticking or uneven toasting. So, don’t wait—get your sandwich maker sparkling clean and ready for your next culinary adventure! Happy toasting!
Related: Cleaning an oven


