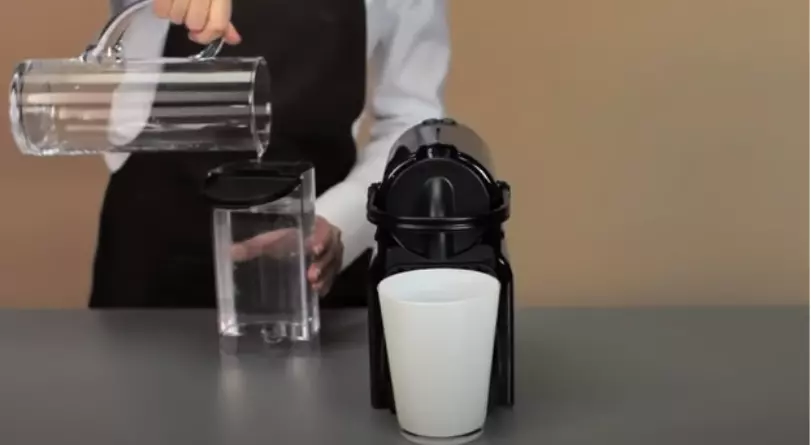
On this page, we explain how to descale Nespresso Inissia coffee maker.
We recommend descaling your Nespresso Inissia coffee machine once every four to six months. By descaling your Nespresso, you prevent limescale from depositing in the pipes. We explain how to descale your machine in 3 steps, and your Nespresso Inissia coffee machine is back to working like new.
Thus, you keep a better taste of coffee and prolong the life of your coffee machine.
Table of Contents
Things you should remember
Nespresso has its own kit designed for cleaning and maintaining its coffee machines, although you can also find other coffee machine cleaners. There are even those who resort to natural products such as vinegar, but you must know how to do it so as not to spoil your coffee maker by using these products.
Another fact to keep in mind is that the method for cleaning a Nespresso is the same for any model of the coffee maker, so whatever yours, you can still follow this procedure.

How often should you clean the Nespresso Inissia?
We advise you to descale your Nespresso machine twice a year. Your Nespresso Inissia does not indicate this, so you have to think about it yourself. Use Nespresso descaler or universal descaler.
How to descale Nespresso Inissia in 3 easy steps
It is easy and does not take much time to descale an Inissia coffee machine, just follow along.
Descaling takes about 15 minutes. We will go through these steps together:
- Step 1. Prepare for descaling
- Step 2. Perform descaling
- Step 3. Rinse the machine
Material needed:
- 1 liter container
- Nespresso descaler or universal descaler

Step 1: Prepare the descaling
- Turn on your Nespresso machine.
- Lift the lever and let the last capsule used fall into the tank.
- Empty and replace the tank and drip tray.
- Place a 1 liter container under the coffee spout.
- Fill the reservoir with 500 milliliters of water.
- Pour Nespresso descaler or universal descaler into the water tank.
- Put the water tank back in the machine.
- Wait for the 2 buttons above the machine to stop flashing.

Step 2: Start descaling Nespresso Inissia
- Simultaneously press the 2 buttons for 3 seconds.
- The lights flash quickly, which means that descaling is activated.
- Press the “lungo” button to start descaling.
- The machine starts descaling and stops when the water tank is empty.
- Remove the water tank from the machine and fill it with the contents of the container.
- Press the “lungo” button again to rinse the machine once more with the descaler.
- The machine automatically stops descaling.

Step 3: Rinse the Inissia machine
- Remove the water tank from the machine.
- Empty it and rinse it well.
- Fill the tank with fresh tap water.
- Press the “lungo” button to rinse the machine with water.
- Remove and empty the container.
- Remove the drip tray, empty it and put it back in place.
- Press the 2 buttons on the machine for 3 seconds to deactivate descaling.
- The buttons will now flash for 25 seconds to preheat the machine.
The Nespresso Inissia is descaled and ready to use.
Final Words: How to descale Nespresso Inissia Coffee Machine
By following the three easy steps outlined in this guide, you can easily descale your machine and enjoy better-tasting coffee while prolonging the life of your coffee maker. Remember to use Nespresso’s own cleaning kit or other coffee machine cleaners that are safe for your specific model. With proper
If you are using a Nespresso milk frother, you should clean it frequently to maintain hygiene. If you are yet to use a Nespresso milk frother, don’t forget to go through the review.


