Microwave ovens need cleaning at regular intervals. If it is not cleaned regularly, an oven can become dirty very quickly. Repeatedly heated fat and sugars stick and blacken.
Some ovens with a cleaning cycle indicate that it is time to activate the function. If your oven does not have one, watch out for smells or smoke.
How to clean an oven without calling for professional help? In this article, you will learn about the different methods of cleaning an oven. By following the 4 steps below, you will find that it is much easier than it seems:
- Remove the accessories from the oven
- Clean the walls of the oven
- Clean the oven glass
- Replace the screens and accessories
If you are interested in descaling a kettle is easy, you can do it yourself at home. Don’t forget to read 6 easy steps to change an electric hob.
Warning signs that indicate oven needs cleaning
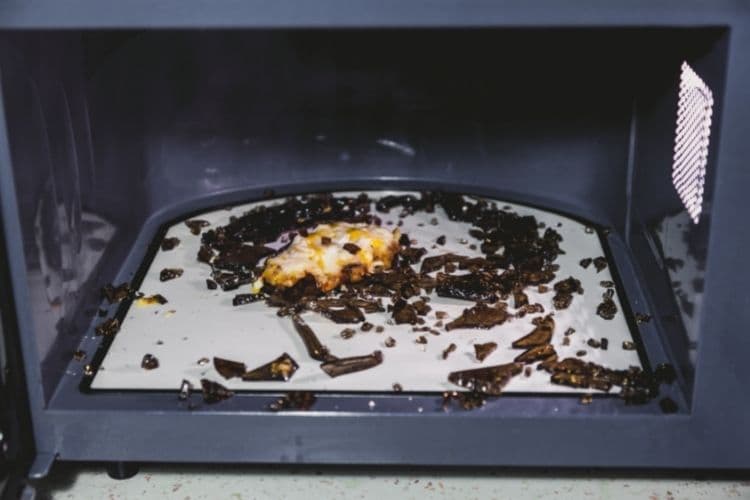
Food particles on the wall of the oven, stains of oil or dirt, are the warning signs that a good cleaning is needed. These fumes as well as the burnt particles that can accumulate on the walls are harmful. A clean oven is good for healthy food, and for that, you need to clean your oven.
How to clean an oven?
Remove aluminum accessories and objects from an oven
Before starting to clean your cooker, it is best to remove all the accessories inside. To avoid burns, make sure the oven is completely cool before starting the operation. Observe the direction, in which the different elements are placed. It will help you when you have to put them back in place.
Start by removing the drip pans and racks. If there is a rotisserie, refer to your oven’s instruction manual for more information on the easiest way to remove it. Next, remove the rack supports that are on the sidewalls of the oven.
Practical information:
Never line the bottom, walls, or floor of the inside of your oven with aluminum, because, with heat, the aluminum foils stick and damage the enamel of your oven.
Clean the walls of an oven
Did you know? The white dust that you will find in your pyrolysis oven after cleaning is complete is nothing but a pile of ash resulting from the cremation of dirt.
Pyrolysis ovens have a cleaning program. Refer to your oven’s user manual to find out which menu section this program is in. Before activating the pyrolysis function, manually remove any crumbs or dirt that may have stuck to the oven.
The program can take up to 3 hours and the temperature can rise up to 500° C. The catalysis oven is easy to clean, its enameled walls are simply washed with water. If stains persist, repeat the operation after heating your oven to 50° C. To avoid too much soiling, you can wipe with a damp cloth or sponge after each use when the oven is still lukewarm, but be careful not to burn yourself.
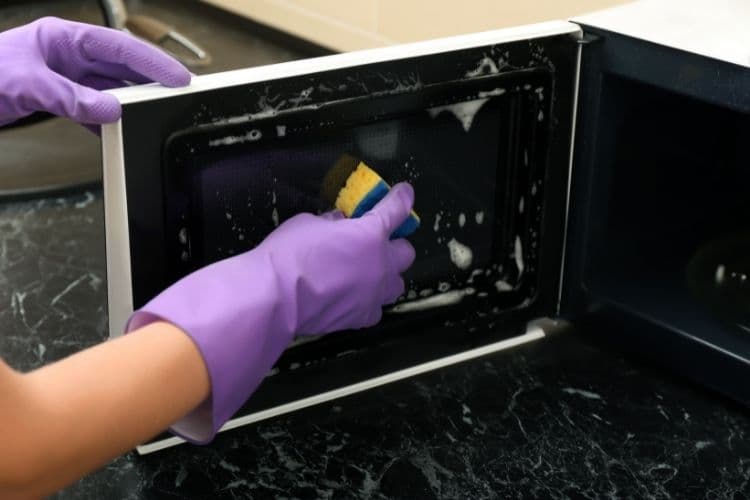
There are several products for cleaning the walls of an oven, all of which require wearing household gloves. Dilute 2 tablespoons of soda crystals in hot water. Clean your oven with this preparation, then rinse with clear water before wiping with a dry cloth.
If you want, you can also use baking soda or black soap. These are natural, economical, and very effective methods. Products available in supermarkets are also effective on the condition that you follow the instructions for use.
Did you know? Scouring sponges or abrasive powders damage the coating of the walls. Avoid them, as a damaged oven could lose particles that are extremely bad for your health.
Clean the glass of an oven
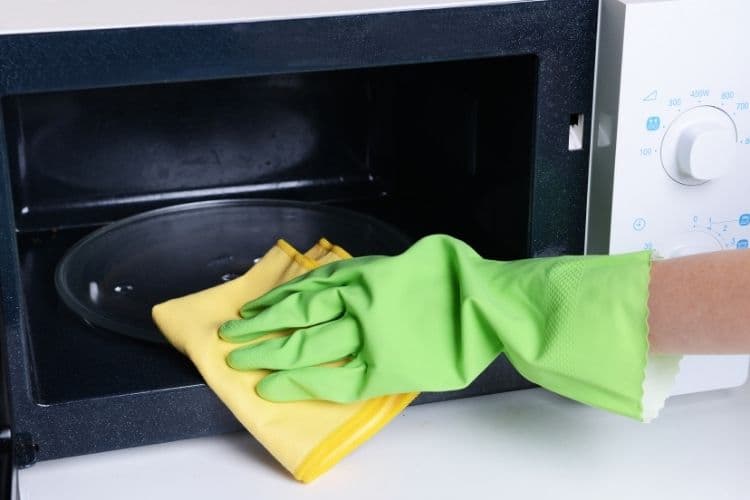
The glass of a stove is often the hardest part to clean. If even the pyrolysis function has not overcome certain points of grease, use household alcohol or specific oven cleaning products. Moisten the glass, spray the product and leave to act for about ten minutes before rubbing. This time again, put on gloves!
Replace the screens and accessories
If you have observed the way the different pieces were placed before removing them, you just have to reposition them identically, starting with the side grilles. Make sure they are well fixed to the walls to avoid any unhooking when laying a dish.
Practical information
If you are unsure of the direction of the positioning of the side racks, perform the following test: the drip pan should slide easily, if it gets stuck, your side rack is upside down!
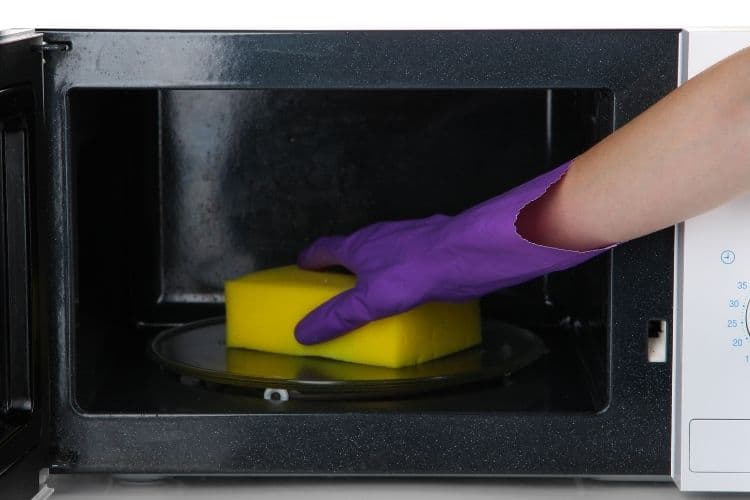
Final word – How to clean an oven
That’s it, your oven is like new! By following these tips, you have been able to carry out simple and effective cleaning of your oven on your own. As you have noticed, using the right method, you hardly need to scrub!

